How to Set Up Multiplayer Pixel Streaming with a Dedicated Server in Unreal Engine
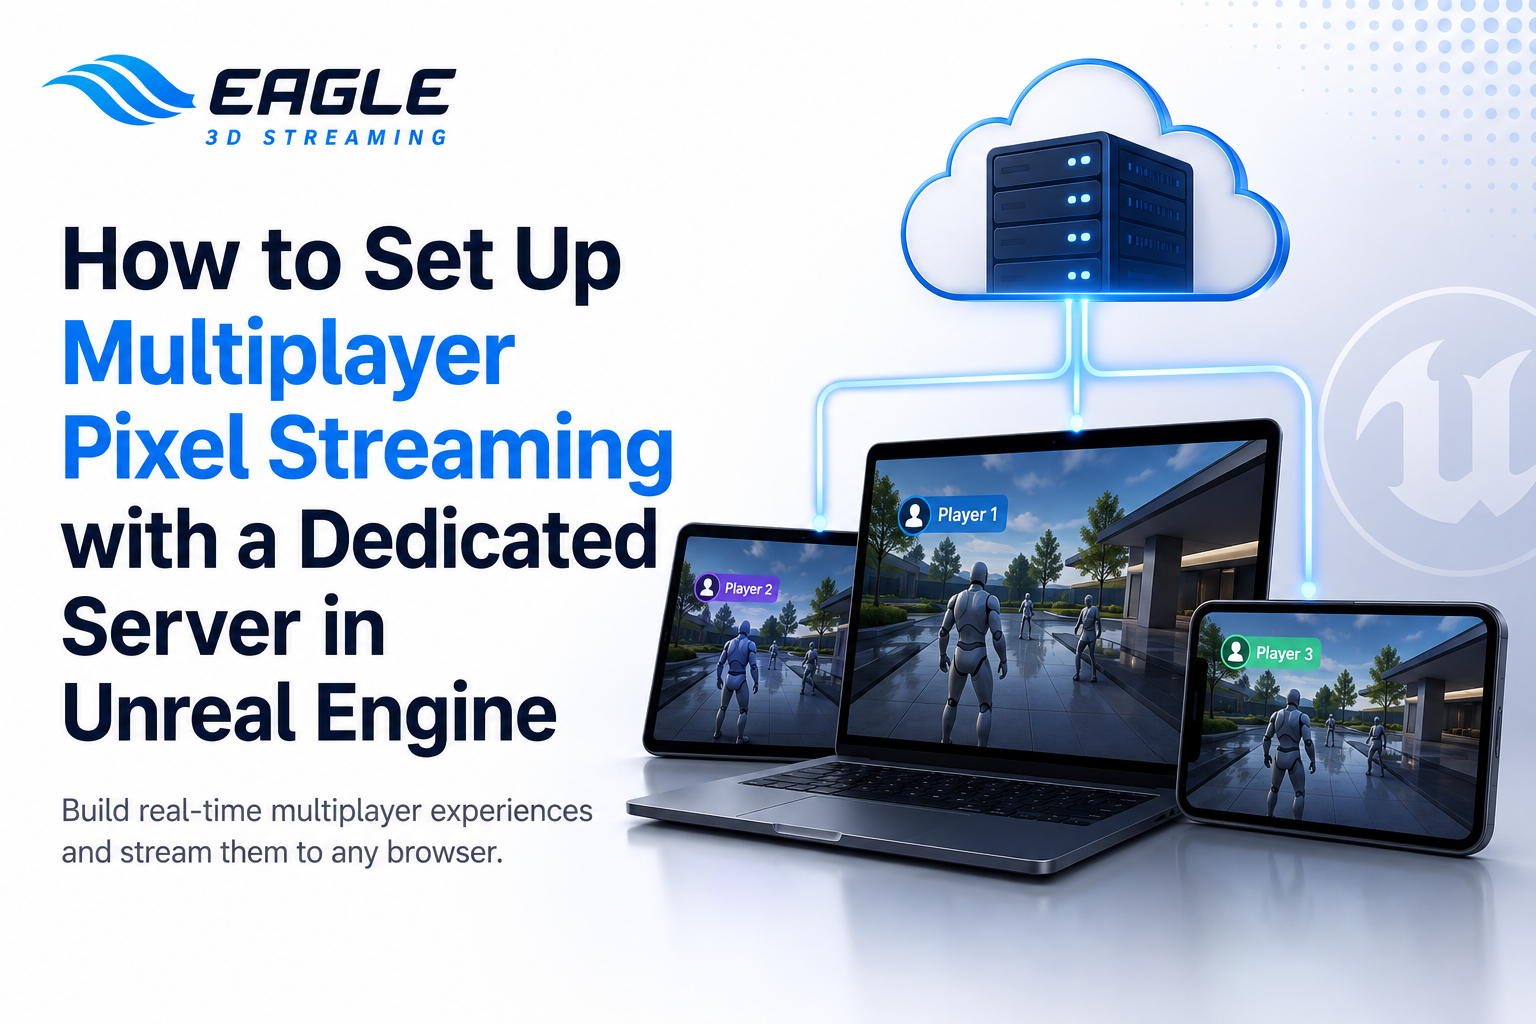
Learn how to set up multiplayer Pixel Streaming in Unreal Engine with a dedicated server. Follow this step-by-step guide for E3DS deployment and testing.
 Md Rafshan Tashin
July 31, 2026
9 min read
Single-player pixel streaming gets you a lot: a shareable link, no installs, and full Unreal Engine visuals in a browser. But the moment you need two or more people inside the same 3D environment at once — walking the same virtual showroom, reviewing the same building model, testing the same training scenario together — single-player streaming stops working. Each person ends up isolated in their own instance, unable to see or interact with anyone else.
That's where multiplayer pixel streaming with a dedicated server comes in. This guide walks through what a dedicated server actually does, how it fits into the Unreal Engine pixel streaming workflow, and the exact steps to get a multiplayer project running end-to-end on Eagle 3D Streaming (E3DS).
Why Single-Player Streaming Isn't Enough
When you stream a single-player Unreal Engine app to two different devices or browser windows, each one runs as a completely separate instance. There's no shared state between them — no way for one player to see the other move, interact with the same object, or hear the same conversation. Every device is running the game independently, with no connection linking them together.
The fix is to introduce a server: a central hub that all players connect to, which synchronizes movement, actions, and data between everyone in the session in real time.
Dedicated Server vs. Listen Server
Unreal Engine supports two server models for multiplayer:
| Server Type | How It Works | Best Fit For |
|---|---|---|
| Dedicated Server | Runs as its own standalone process with no local player attached to it. It only manages game state and synchronizes clients. | Pixel streaming setups, cloud deployments, multi-user demos where you need a stable, always-on host separate from any single player's device |
| Listen Server | One player's game instance also acts as the host for everyone else. | Local LAN games or small peer-to-peer setups where a dedicated host isn't practical |
For pixel streaming on E3DS, dedicated servers are the standard approach, since the whole point is to host the experience centrally and stream it out to any number of client devices without depending on one player's machine staying online.
Hosting Options: E3DS Infrastructure vs. Your Own Cloud
Once you've got a dedicated server build, you need somewhere to run it. According to E3DS's guide on hosting a Multiplayer Server App using E3DS infrastructure, E3DS offers the Dedicated Server system for free, with a paid option available for teams that need added reliability — for example, for a live event.
| Hosting Option | Requirements | Notes |
|---|---|---|
| E3DS Infrastructure | An E3DS account, plus a Server App that's already built, packaged, and tested locally | Offered for free; upload and test your app on the free version first, and if it performs the way you want, E3DS can set you up with a paid account on a cloud platform of your choice |
| Your Own Infrastructure (AWS, Azure, or GCP) | A static IP address accessible over the internet | Both hosting paths are supported within E3DS's system, as noted in the E3DS Multiplayer Demo setup |
Before uploading anything, make sure your Server App is working correctly in your local environment first. E3DS's hosting guide is explicit that this is expected before upload, since a locally broken build won't work correctly on their infrastructure either.
Step-by-Step: Building a Multiplayer Desktop Game App
This is the full path from a working single-player project to a functioning multiplayer build, based on E3DS's documented workflow.
Step 1: Confirm the Problem with Single-Player Streaming
Before adding multiplayer functionality, it's worth confirming what you're solving for. If you stream a single-player build to two devices, you'll see two players moving independently with no shared interaction — proof that a server is needed to connect them.
Step 2: Create a Project Using the Third Person Template
Start with Unreal Engine's Third Person Template as your base project. This gives you a working character and movement setup to build multiplayer functionality on top of.
Step 3: Convert the Project into a C++ Project
Multiplayer server modules require a C++ project structure. If you started with a Blueprint-only project, you'll need to convert it before continuing.
Step 4: Add a Server Module in the Project
This is where you configure the actual dedicated server logic inside your Unreal project — the code that allows the game to run in server mode rather than as a standalone player instance.
Step 5: Package Both the Server Build and the Game Build
The server and the game client must be packaged separately, and both need to stay in sync for multiplayer to work correctly:
- Packaging Server Build — produces the standalone server executable
- Packaging Game Build — produces the client application players will actually stream and interact with
Step 6: Test Locally Before Uploading
Before pushing anything to the platform, run the server and game build on your own machine to confirm multiplayer functionality actually works. Here's the process:
- Run the packaged server executable.
- Run the packaged game application (double-click to launch).
- Press the backtick key (
`) to open the in-game console. - Enter the connection command using your server's IP and port:
open server IP:Port
For example:
open 172.7.191.81:28889
- Repeat steps 2–4 from a second instance of the game to join the same server.
- Once both instances connect, you should see both players in the same environment, able to see each other move.
If this works locally, you're ready to upload to E3DS.
Step-by-Step: Uploading and Running the Server on E3DS
Once your server build is packaged and tested locally, here's how to get it live on the E3DS Control Panel, based on E3DS's own hosting guide:
Step 1: Archive Your Dedicated Server App
In the root folder of your packaged server build (the folder containing the .exe file), select all files and folders, then compress them. Supported archive formats are ZIP, RAR, and 7z. Skipping this step and trying to upload an unarchived project will cause the upload to fail.
Step 2: Go to Multiplayer Server Apps
Log in to your Control Panel and navigate to Multiplayer Server Apps — this is the dedicated section for managing server builds separately from your regular streaming apps.
Step 3: Click Add
Click the Add (plus) button to start a new upload.
Step 4: Name the App to Match Your Executable
Enter a name for the app. This name should match the .exe file in your root folder — this keeps the server app identifiable and avoids launch issues.
Step 5: Click Add, Then Choose Your File
Click Add again, and the uploader page will open in a new tab. Click Choose File, browse to your archived server build, and select it.
Step 6: Click Upload
The archive will begin uploading to the platform.
Step 7: Refresh and Select the Server App
Refresh the Control Panel page to see your uploaded Server App appear in the list, then select it.
Step 8: Click Start Server App
This starts the Dedicated Server. Refresh the browser again, and the app will appear in the Running Apps list once it's live.
Step 9: Play Your Streaming App
With the server running, go to your Standalone Apps section in the Control Panel: select your streaming app in Step 1, select a config in Step 2, then generate your URLs and click Play App in Step 3. If you haven't uploaded a streaming app yet, follow the Getting Started guide first.
Step 10: Stop the Server When You're Done
When you're finished, click Stop Server App to shut the Dedicated Server down.
Testing Locally Before You Go Live
It's worth repeating: always validate multiplayer functionality on your own machine before uploading. Confirming the connection locally with two running instances catches most configuration issues — missing server modules, packaging mismatches, or incorrect ports — before they become harder-to-diagnose problems on the live platform.
Other Ways to Connect Players to a Server
Manually typing open IP:Port into a console works for testing, but it's not something you'd want end users doing. E3DS documents two additional approaches for production use:
- Automatic Server Join (Multiplayer Server Scaling Plugin): Configures your project so players join a server automatically from within the game — no manual IP entry required. This path also supports playing from a mobile browser.
- Upload from UE Editor (E3DS Automation Tools Plugin): Lets you upload builds directly from the Unreal Editor rather than manually zipping and uploading through the control panel each time, streamlining the workflow for teams iterating frequently.
Both build on the same underlying dedicated server concept covered above — they just remove manual steps from the player-connection and upload process.
Common Setup Mistakes to Avoid
| Mistake | Why It Causes Problems |
|---|---|
| Packaging the server build and game build separately, then updating only one | Server and client must stay in sync — mismatched versions can break multiplayer functionality |
Naming the uploaded app differently from the root .exe file | Causes launch failures on the E3DS platform |
| Skipping local testing before uploading | Configuration issues are much harder to trace once the build is live |
| Assuming E3DS's free in-house server hosting guarantees 24/7 uptime | Free hosting can go offline under high platform demand — use paid dedicated hosting if uptime is critical |
| Using a dynamic IP for a self-hosted server | A static IP is required for clients to reliably reach your server |
FAQ
Do I need a static IP if I host on E3DS's own infrastructure? No — that requirement applies specifically to self-hosted dedicated servers on your own infrastructure (AWS, Azure, GCP, or on-prem). E3DS's in-house hosting handles this for you.
Is E3DS's dedicated server hosting free? Yes, currently — but it comes without a guaranteed uptime commitment. If your server goes offline, it may be due to high demand from other users on the shared free tier. For guaranteed availability, reach out about paid dedicated hosting.
Can I test multiplayer without uploading to E3DS first? Yes, and you should. Run the packaged server and game build locally, connect two instances using the open IP:Port console command, and confirm both players can see each other before uploading anything.
What's the difference between a dedicated server and a listen server? A dedicated server runs independently with no player attached to it, making it suited for cloud-hosted, always-on multiplayer setups. A listen server uses one player's own game instance to host everyone else, which works for smaller local setups but isn't the standard approach for pixel streaming.
Need help setting up your multiplayer stream?
🛠️ Support Portal: Contact Our Support Team 💬 Discord Community (Faster Support): Join Our Discord Community 📧 Email Support: support@eagle3dstreaming.com 🆓 Get Started for Free
Share this article